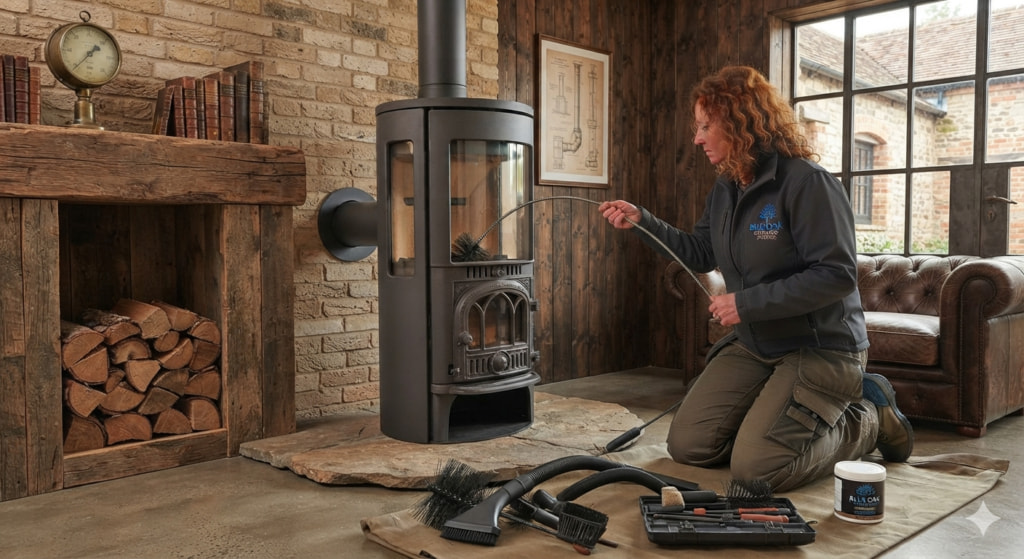
If you’re wondering how to clean a wood-burning stove, regular maintenance is essential for keeping your stove safe, efficient, and performing at its best. A wood burning stove can make a UK home feel warm and inviting, especially on a cold evening, but neglecting regular wood burning stove cleaning can lead to poor draw, sooty glass, reduced heat output, creosote buildup in the flue, and, in serious cases, a chimney fire.
The good news is that cleaning a wood burning stove properly is a straightforward job once you know the correct process, the right tools to use, and what to look out for along the way. This complete guide covers everything from daily ash management to deep seasonal cleans, so your stove performs at its best all year round.
Why Wood Burning Stove Cleaning Matters
Before getting into the how, it is worth understanding the why. Many homeowners underestimate how directly stove cleanliness affects performance and safety.
Efficiency drops when ash and soot build up. A thick layer of ash beneath the grate restricts the airflow that feeds the fire oxygen. Without adequate airflow, the fire burns cooler, produces more smoke, consumes more fuel, and delivers less heat into the room.
Creosote is a genuine fire risk. Every time wood burns, it produces creosote, a sticky, tar-like substance that condenses on cooler surfaces inside the flue. Creosote is highly flammable. If it builds up and ignites, it causes a chimney fire that can reach temperatures of over 1,000 degrees Celsius inside the flue. Regular wood burning stove cleaning of the stove and annual professional chimney sweeping are the primary defences against this.
Blackened glass spoils the experience. One of the great pleasures of a wood-burning stove is watching the flames. A dirty glass door covered in soot and tar deposits makes this impossible and is a sure sign the stove needs attention.
Neglected stoves deteriorate faster. Ash left sitting in a stove after it cools draws moisture from the air and becomes mildly acidic. Over time, this corrodes the firebox lining, firebricks, and grate far faster than normal heat cycling alone would.
Understanding these consequences makes it clear that cleaning your stove is not optional maintenance. It is a core part of safe and efficient operation. If you want to understand how stove maintenance sits within the broader picture of ownership costs, our guide on stove service and maintenance costs in Leicester provides a full breakdown.
How to Clean a Wood Burning Stove?
The right cleaning frequency depends on how often you use the stove. Here is a practical schedule to follow:
| Task | Frequency |
|---|---|
| Remove excess ash | Every 1 to 3 days during regular use |
| Clean the glass door | Every 1 to 2 weeks or when visibility is impaired |
| Brush out the firebox | Every 2 to 4 weeks during the burning season |
| Check and clean the baffle plate | Monthly or at the start and end of the season |
| Clean the flue pipe (where accessible) | At the start and end of each burning season |
| Professional chimney sweep | At least once per year, ideally twice for heavy users |
| Full deep clean and inspection | At the end of the burning season before summer |
During summer months when the stove is not in use, a single thorough clean before you put the stove to rest and another inspection before you light it again in autumn is a sensible approach.
What You Will Need to Clean a Wood Burning Stove
Getting the right tools together before you start makes the job far easier and far less messy. Here is what you need:
Safety essentials:
- Heat-resistant gloves
- Dust mask or respirator (fine ash particles are an irritant)
- Safety goggles (optional but recommended for deep cleans)
- Old clothes or a protective apron
Cleaning tools:
- Metal ash shovel or scoop
- Metal ash bucket with a lid (never use plastic)
- Stove-rated ash vacuum or a dedicated ash vacuum cleaner
- Stiff-bristled stove brush or wire brush for the firebox
- Soft-bristled brush for firebricks
- Long-handled flue brush (for DIY flue cleaning)
- Old newspaper or dust sheets to protect the hearth and surrounding floor
Cleaning products:
- Purpose-made stove glass cleaner
- Stove polish or stove paint (for the exterior)
- White vinegar and water solution (alternative glass cleaner for light soiling)
- Damp cloth and dry cloths
One critical point: never use your household vacuum cleaner to remove ash. Fine ash particles will destroy the motor filter almost immediately. Always use an ash vacuum or specialist stove vacuum that is designed for the purpose.
If you need accessories like ash buckets, brushes, or stove tools, our fireplace accessories guide covers everything you need to complete your cleaning kit.
Before You Start: Safety First

This cannot be overstated. Never attempt to clean a wood-burning stove until it has completely cooled. Metal stoves are highly conductive and retain heat for many hours after the last flames die down. A stove that looks cold may still have warm ash or hidden embers inside.
Wait at least 12 to 24 hours after the last fire before beginning any cleaning. For deeper cleans, waiting a full 48 hours is the safest approach. If in any doubt, gently hold the back of your hand near (not touching) the exterior of the stove. Any residual warmth means it is not ready.
Additional pre-cleaning safety steps:
- Open a window in the room to provide ventilation and prevent fine ash particles from settling throughout the house
- Lay dust sheets or old newspaper across the hearth and surrounding floor
- Check your carbon monoxide alarm is working
- Keep pets and children out of the room while cleaning
Step-by-Step Guide to Cleaning a Wood Burning Stove
Step 1: Remove the Ash
With gloves on and your dust mask in place, open the stove door slowly to avoid disturbing ash. Using the metal shovel or scoop, carefully transfer cooled ash into your metal bucket with a lid. Work slowly and gently to avoid sending clouds of fine ash into the air.
An important point that many homeowners get wrong: do not remove every last particle of ash. Leaving a thin layer of around 1 to 2 centimetres of ash on the firebox floor actually helps insulate the firebricks and provides a useful base for your next fire to catch and establish itself. Remove the bulk of the ash but leave that thin residual layer intentionally.
Once the ash is in the metal bucket, seal the lid and store the bucket outside, away from any combustible materials, for at least 24 hours even if the ash appears completely cold. Hidden embers can remain alive in ash for surprisingly long periods and are a common cause of accidental fires.
Step 2: Remove and Clean the Grate and Ashpan
Most wood burning stoves have a removable grate and an ashpan beneath it. Take these outside if possible before cleaning. Tap them gently to dislodge loose ash, then brush them down with your stiff brush. Check the grate bars for warping or cracking. A distorted grate restricts airflow and should be replaced. Grates are a wear item on any stove and replacing them when needed is far cheaper than the inefficiency of running the stove with a damaged one.
Step 3: Clean the Baffle Plate
The baffle plate (sometimes called the throat plate) sits above the firebox and directs hot gases to maximise heat output before they exit into the flue. It is one of the most important components for efficient burning and one of the most commonly neglected when it comes to cleaning.
Always consult your stove manual before removing the baffle, as the removal method varies significantly between manufacturers. Some lift straight out, others require tilting at a specific angle, and some are not designed to be removed by the homeowner at all. Attempting to force a baffle plate can bend or crack it, which is an expensive mistake.
Once removed (where applicable), brush accumulated soot and deposits from the baffle plate surface using your stiff brush. Check it for warping, cracks, or holes. A damaged baffle plate affects combustion efficiency directly and should be replaced. Take a photo before removing it to ensure you know the correct orientation when refitting.
Step 4: Clean the Firebricks
Firebricks line the inside of the firebox and protect the steel body of the stove from direct heat. They are made from refractory ceramic and require a gentler approach than the grate or baffle.
Use a soft-bristled brush rather than a wire brush on firebricks. Wire brushes can damage the surface and shorten their lifespan. Brush away loose soot and debris. If there are heavier deposits, a dry brush is still preferable to a wet one, as moisture can penetrate the porous ceramic and cause cracking when the stove next heats up.
Inspect each firebrick carefully for cracks, chips, or crumbling edges. Hairline cracks are common and often not immediately serious. Deep cracks, significant crumbling, or bricks that have shifted out of position need attention before the stove is used again. Our guide on common wood burning stove problems covers firebrick issues in more detail and explains when replacement is necessary.
Step 5: Clean the Interior of the Firebox
With the grate, ashpan, and baffle removed, use your stiff brush to work around the interior walls and corners of the firebox, dislodging any soot deposits. Pay particular attention to the upper corners and the area directly beneath where the baffle sits, as these areas accumulate the most soot.
For heavier deposits of tar or creosote on the interior walls, a scraper tool can be used carefully. Never use water or wet cleaning products inside the firebox, as moisture causes rust and can crack firebricks. The interior of the firebox should always be cleaned dry.
Once you have brushed everything loose, use your ash vacuum to collect the debris from the firebox floor before replacing the baffle, grate, and ashpan.
Step 6: Clean the Stove Glass
Blackened stove glass is the most visible sign of a stove that needs cleaning, and it is the task most homeowners tackle most frequently. There are several effective methods depending on how heavy the soiling is.
Method 1: Purpose-made stove glass cleaner. This is the easiest and most reliable method. Spray the cooled glass with stove glass cleaner, leave it to work for the time specified on the product (usually a minute or two), then wipe off with a dry cloth or paper towel. For heavy deposits, a second application may be needed. Always work on completely cold glass.
Method 2: Ash and damp newspaper (the traditional method). This method works surprisingly well and costs nothing. Dampen a sheet of newspaper, dip it into cooled ash from the stove, and use it to gently rub the sooty glass in circular motions. The fine abrasive particles in the ash lift the soot deposits without scratching the glass. Finish by wiping down with a clean damp cloth.
Method 3: White vinegar and water solution. For light soiling and regular maintenance cleaning, a 50/50 mix of white vinegar and water in a spray bottle works well. Spray onto the glass, leave for a minute, and wipe clean. This method is less effective on heavy tar deposits but ideal for frequent light cleaning between deeper sessions.
Important: Never use abrasive scourers or steel wool on stove glass. The ceramic glass panels in modern stoves are scratch-resistant but not scratch-proof, and any scratching will make them harder to clean in future. Never apply any liquid cleaner to warm or hot glass, as the thermal shock can crack the panel.
A note on prevention: consistently black glass is often a symptom of burning wood that is not dry enough or of running the stove too cool. If your glass is blackening rapidly despite regular cleaning, check your wood moisture content with a moisture meter. Properly seasoned or kiln-dried wood with a moisture content below 20% should produce very little glass blackening during normal operation.
Step 7: Clean the Exterior of the Stove
The exterior of a cast iron or steel wood burning stove requires a different approach to the interior. Never use a damp cloth on a stove exterior without following up with a dry cloth immediately, as moisture causes surface rust.
For light dust and ash deposits, wipe the exterior with a dry cloth first to remove loose material. Then use a barely damp cloth if needed for more stubborn marks, followed immediately by a dry cloth.
For stubborn marks, scratches to the paint finish, or areas where the original colour has faded, stove polish or stove paint can restore the appearance. Stove polish (applied when cold) buffs up to a low sheen and provides a degree of protection against surface rust. Stove paint is heat-resistant paint that is applied cold and cures when the stove is first heated, providing a durable finish. Follow the product instructions carefully, as application and curing methods vary.
Do not use furniture polish, household cleaning sprays, or any product that is not specifically rated for high-temperature use on the stove exterior. These products can discolour, blister, or produce unpleasant fumes when the stove heats up.
Step 8: Check the Door Rope Seal
The rope seal around the stove door is one of the most important and most overlooked components of a wood-burning stove. This fibreglass or ceramic rope creates an airtight seal around the door, preventing cold air from being drawn into the firebox around the frame and uncontrolled smoke from leaking into the room.
Over time, the rope seal compresses, hardens, and loses its ability to seal effectively. A simple test: close the stove door on a piece of paper. If you can pull the paper out without resistance, the door seal needs replacing.
Replacing a door rope seal is a straightforward DIY job that costs very little. You need the correct diameter rope for your stove model (check the manual or measure the existing rope), heat-resistant rope seal adhesive, and a scraper to remove the old rope. Clean out the channel where the rope sits, apply the adhesive, press the new rope into place, allow it to cure according to the adhesive instructions, and close the door on the fresh rope to allow it to compress into the correct position.
A good door seal makes a significant difference to combustion efficiency, heat output, and the draw of the stove. If your stove seems to be burning through wood faster than it should or struggling to maintain temperature with the air controls at normal settings, a failed door rope seal is one of the first things to check.
Step 9: Inspect the Flue Pipe
The section of flue pipe between the stove and the chimney liner (where visible and accessible) should be checked for soot accumulation, creosote deposits, and any joint leaks. Joints that show sooty marks on the outside suggest the seal has failed and combustion gases may be leaking into the room.
Cleaning the flue pipe is possible as a DIY task using purpose-made flue brushes, but it is messy and requires care. If you are not confident in doing this yourself, your annual chimney sweep will cover this as part of their service.
Never operate the stove with a loose or damaged flue pipe joint. If you notice gaps, damage, or discolouration around joints, address this before lighting the stove again.
How to Clean a Log Burner Glass Door: Quick Reference
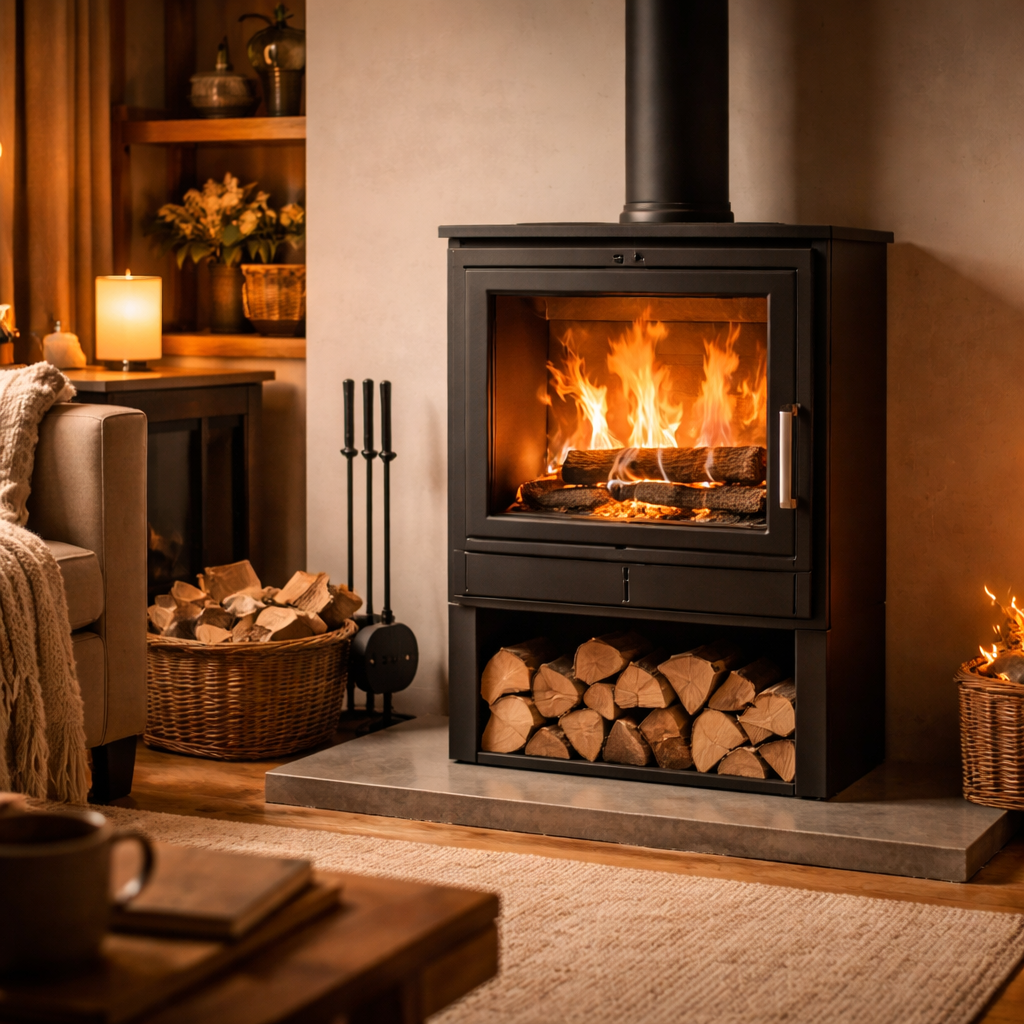
Since glass cleaning is the most frequent task most homeowners need to do, here is a quick reference summary:
- Always clean on completely cold glass only
- Use purpose-made stove glass cleaner, the ash-and-newspaper method, or a diluted vinegar solution
- For heavy deposits, apply cleaner and leave for a minute before wiping
- Wipe with dry cloth or kitchen paper, not a wet cloth
- Never use abrasive pads or metal scourers
- Never spray liquid onto warm glass
- If glass is blackening very quickly, investigate wood moisture content and stove operating temperature
When to Call a Professional: What You Cannot Do Yourself
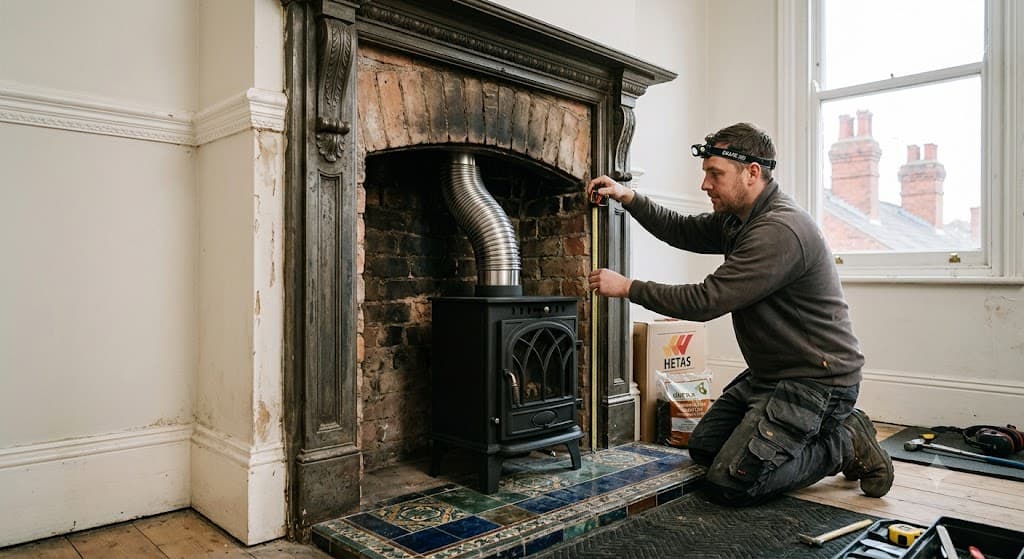
DIY cleaning covers the firebox, glass, grate, baffle, and accessible flue sections. There are several tasks that must be handled by a qualified professional:
Professional chimney sweeping. The chimney liner and upper sections of the flue cannot be safely or effectively cleaned without professional chimney sweeping equipment. A HETAS-registered or NACS-registered chimney sweep has the rods, brushes, and vacuum containment equipment to clean the full depth of your chimney safely without covering your room in soot.
Creosote removal. Heavy creosote deposits in the flue require specialist treatment and, in severe cases, professional creosote removal products or relining of the chimney. This is not a DIY task.
Flue liner inspection. A visual inspection of the full liner using a CCTV camera system is the only way to confirm the liner is in sound condition. This is usually carried out as part of a professional sweep service and is particularly important for older properties or stoves that have not been regularly swept.
Gas connections. If your property has a gas connection near the stove for any reason, any work involving gas must be carried out by a Gas Safe registered engineer.
For stove owners in Leicester and the surrounding areas, the team at Blue Oak Fireplaces can advise on professional servicing options and maintenance requirements. You can also explore our full guide on wood burning stove installation processes for background on how your stove should have been commissioned and what ongoing obligations come with it.
Common Wood Burning Stove Cleaning Mistakes to Avoid
Cleaning while the stove is still warm. The most dangerous mistake. Always wait for the stove to be completely cold before beginning any cleaning task.
Using a household vacuum on ash. Fine ash particles destroy standard vacuum filters. Always use a dedicated ash vacuum.
Applying water inside the firebox. Water causes rust on the steel body and can crack ceramic firebricks. Always clean the interior dry.
Using abrasive scourers on the glass. Scratches trap soot and make the glass harder to clean over time. Use soft cloths only.
Removing all the ash. Leaving a thin layer of ash on the firebox floor actually helps the next fire establish. Remove the bulk but leave 1 to 2 centimetres.
Ignoring the door rope seal. A failed seal allows uncontrolled air into the firebox and is one of the most common causes of reduced efficiency and difficulty controlling the fire.
Skipping the annual chimney sweep. No amount of DIY cleaning replaces a professional sweep. Creosote in the upper flue is invisible from inside the stove and is a serious fire risk if left to accumulate.
Using the wrong cleaning products on the exterior. Household cleaners, furniture polish, and WD-40 have no place near a stove exterior. Use only products rated for high-temperature use.
For a broader look at what can go wrong when stoves are not maintained properly, our guide to common wood burning stove problems covers the issues homeowners encounter most frequently.
Tips to Keep Your Stove Cleaner for Longer
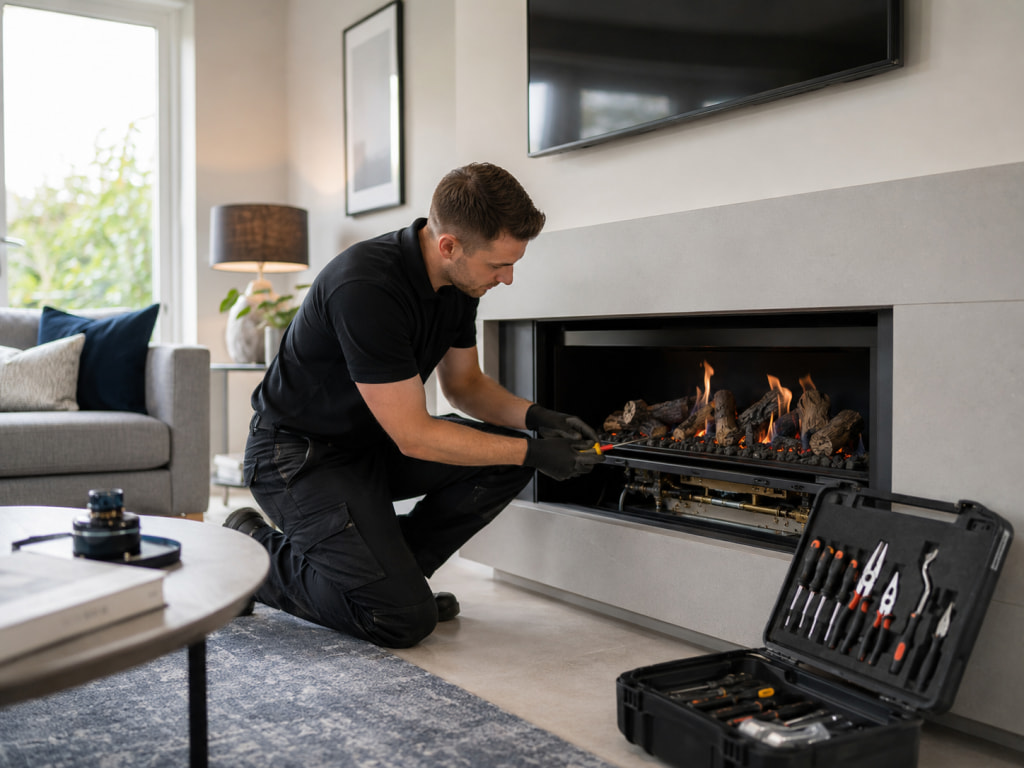
How you operate your stove has a direct effect on how quickly it needs cleaning. Following good burning habits significantly reduces the frequency of heavy cleaning sessions.
Only burn properly seasoned or kiln-dried wood. The single most impactful thing you can do. Wet or unseasoned wood with a moisture content above 20% burns cooler, produces far more soot and creosote, and blackens the glass rapidly. Kiln-dried wood with a moisture content below 20% burns hotter, cleaner, and produces far less residue. Under the Ready to Burn scheme, compliant logs must have a moisture content of 20% or below.
Never burn household rubbish, treated wood, or painted timber. These materials produce toxic fumes and heavy deposits that foul the stove rapidly.
Run the stove hot enough. Running a stove too cool (sometimes called slumbering) produces a lot of smoke and soot even with good wood. A stove burning at its correct operating temperature is a clean-burning stove. Most modern DEFRA-exempt stoves are designed to be run with the primary air control fully or mostly open during the main burn phase.
Use the correct size logs. Logs that are too large for the firebox do not burn cleanly. Use logs sized appropriately for your stove model.
Use the secondary air wash system. Most modern stoves have an air wash system that directs a thin curtain of clean air down the inside of the glass door, preventing soot from settling on the glass. This system only works effectively when the stove is running at a correct operating temperature with the right air settings. Refer to your stove manual for the correct settings.
If you are considering upgrading to a more efficient model or looking at a stove specifically for its low-maintenance characteristics, our guide to efficient log burners covers the latest DEFRA-exempt and Ecodesign-ready models that are designed to burn cleaner and require less frequent cleaning.
Smoke Control Areas and Cleaning Obligations
If your property is in a Smoke Control Area, which covers most urban areas across the UK including large parts of Leicester, you are legally required to burn only approved fuels or use a DEFRA-exempt stove. Running a non-exempt stove in a smoke control area on unapproved fuel is an offence.
Keeping your stove clean and burning correctly is particularly important in these areas, as a poorly maintained stove that burns inefficiently produces more visible smoke emissions. Our dedicated guide on wood burning stoves in smoke control areas explains the regulations in full and confirms what is and is not permitted in different areas.
Cleaning a New Wood Burning Stove for the First Time
If you have recently had a wood burning stove installed, the first clean has a few specific considerations. New stoves often have a light coating of protective oil on the exterior that burns off during the first few firings. This is normal and expected. During the first few lighting sessions, the stove should be run at a low temperature to allow the paint and internal components to cure gradually, a process called seasoning the stove.
After the initial seasoning period (typically 3 to 5 fires at gradually increasing temperatures), the stove can be used normally and the first full clean carried out as described in this guide. It is also worth rechecking the door rope seal compression and all visible joints after the first few uses, as new stoves can settle slightly during initial heat cycling.
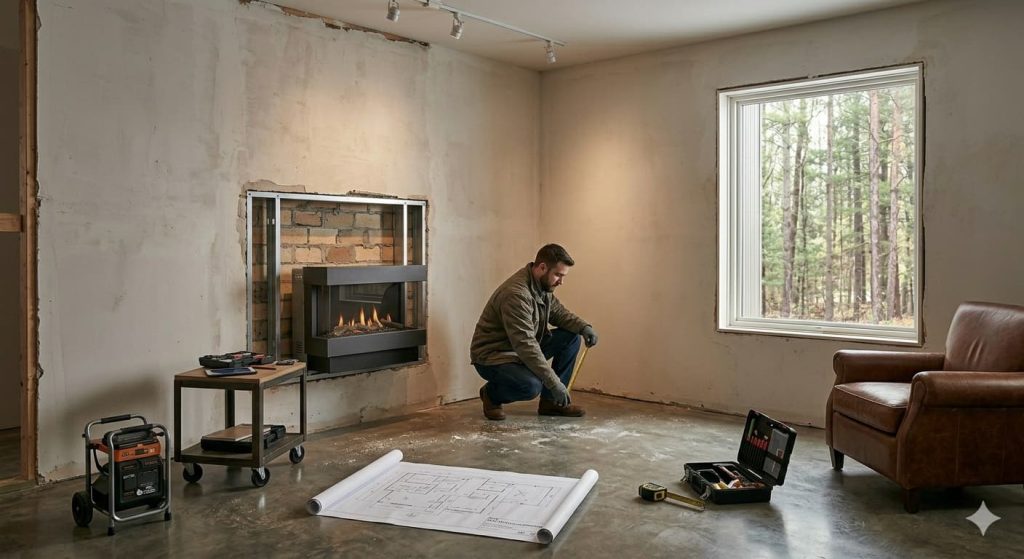
For everything you need to know about the installation process and what to expect in the weeks after fitting, our guide on preparing your home for fireplace installation is a useful resource.
Inset vs Freestanding Stoves: Does Cleaning Differ?

The cleaning process is broadly the same for both inset and freestanding stoves, but there are a few practical differences worth knowing.
Freestanding stoves are generally easier to clean around the exterior and easier to access the rear of the stove for flue pipe checks. The space around a freestanding stove also makes it simpler to protect the surrounding area with dust sheets.
Inset stoves sit within a recess or fireplace opening, which means the exterior cleaning is limited to the visible fascia. The firebox and glass cleaning are identical. However, accessing the flue pipe connection on an inset stove can be more restricted, making it all the more important not to miss the annual professional sweep that covers the full flue depth.
If you are deciding between the two installation types, our guide on inset vs freestanding stoves covers all the differences in detail beyond just cleaning.
Frequently Asked Questions
How often should I clean my wood burning stove?
During the active burning season, ash should be removed every one to three days to maintain good airflow. The glass door should be cleaned every one to two weeks, or whenever visibility through the glass is noticeably reduced. A thorough firebox clean, including the baffle, grate, and firebricks, should be done every two to four weeks during heavy use. A professional chimney sweep should be booked at least once per year, and twice per year for stoves used more than three or four evenings per week.
How do I clean the glass on a wood burning stove without special products?
The most effective home method is to dampen a piece of newspaper, dip it lightly into cooled ash from the stove, and use it to rub the glass in circular motions. The fine particles in ash act as a mild abrasive that lifts soot deposits without scratching the glass. Finish by wiping down with a clean damp cloth. A 50/50 solution of white vinegar and water in a spray bottle also works well for light cleaning. For heavier deposits, a purpose-made stove glass cleaner from a hardware store or stove specialist is the most reliable option.
Why does my stove glass keep going black?
Stove glass blackens most commonly because of one of three reasons. The wood being burned has a moisture content that is too high, meaning it is not properly seasoned or kiln-dried. The stove is being operated at too low a temperature, causing the fire to smoulder rather than burn cleanly. Or the air wash system on the glass door is not functioning correctly, which is often caused by running the stove with the air controls set incorrectly. Burning dry wood with a moisture content below 20% and running the stove at the correct operating temperature with adequate airflow are the two changes that make the biggest difference to glass blackening.
Can I use a regular vacuum cleaner to remove ash from my stove?
No. Standard household vacuum cleaners are not designed to handle the ultra-fine particles found in wood ash. Fine ash will clog and destroy the vacuum filter almost immediately, can overheat the motor, and may allow ash-laden air to blow back into the room. Always use a dedicated ash vacuum or specialist stove vacuum, which has filters rated for fine ash and a heat-resistant body for handling recently cooled ash.
How do I know if my stove door seal needs replacing?
Close the stove door on a strip of paper or a thin cloth. If you can pull the paper or cloth out without any resistance, the door rope seal has lost its compression and is no longer creating an effective airtight seal. A properly sealing door should grip the paper firmly. The rope seal also shows visible signs of wear over time, becoming flattened, hard, brittle, or frayed. Replacing a door rope seal is a simple DIY task using the correct diameter rope and heat-resistant rope adhesive. Most seals need replacing every two to four years depending on usage frequency.
Should I remove all the ash from my wood burning stove?
No. While it is important to remove the bulk of the accumulated ash to maintain good airflow through the grate, leaving a thin layer of around one to two centimetres of ash on the firebox floor is actually beneficial. This thin ash bed insulates the firebricks from the most intense heat, protects the floor of the firebox, and provides a useful base that helps the next fire to catch and establish. Remove enough ash to allow good airflow, but always leave that shallow layer behind.
How do I clean the outside of a wood burning stove?
Start by wiping the exterior with a dry cloth to remove loose ash and dust. If marks remain, use a barely damp cloth followed immediately by a dry cloth to prevent surface rust. For stoves with a painted finish, stove polish applied cold and buffed up restores the appearance and provides rust protection. For worn or damaged areas, heat-resistant stove paint can be applied and will cure when the stove is next heated. Never use household cleaning sprays, furniture polish, or WD-40 on a stove exterior, as these products can discolour or blister when heated and may produce unpleasant fumes.
When should I have my chimney professionally swept?
The Guild of Master Chimneysweeps recommends having a wood burning stove chimney swept at least once per year, and twice per year for stoves that are in heavy use throughout the burning season. The best times to book are either at the end of the burning season (spring) so your chimney is clean going into the warmer months, or at the start of the season (early autumn) before you begin regular use. Many homeowners prefer the spring sweep so any creosote deposits are not sitting in the chimney through the damp summer months. Booking well in advance of the autumn rush is advisable, as reputable chimney sweeps tend to get busy from September onwards.
What is creosote and why is it dangerous?
Creosote is a tar-like substance that forms when the volatile gases produced by burning wood condense on the cooler surfaces of the flue and chimney. It is highly flammable. If creosote builds up to significant levels and is exposed to high temperatures from a hot fire, it can ignite inside the flue, causing a chimney fire that burns at extreme temperatures and can damage the liner, spread to the building structure, and pose a serious risk to life. Regular use of dry, well-seasoned wood at the correct operating temperature minimises creosote production. Annual chimney sweeping removes the deposits that do accumulate and is the single most important maintenance task for any wood burning stove owner.
Can I clean the flue pipe myself?
The accessible section of flue pipe between the stove and where it enters the chimney can be carefully cleaned by a homeowner using purpose-made flue brushes. However, the full chimney liner and upper sections of the flue system must be swept by a qualified chimney sweep using professional equipment and containment systems. DIY cleaning of the full flue depth without proper equipment results in large quantities of soot falling into the room and does not achieve the thorough cleaning that professional equipment provides. For most homeowners, DIY cleaning is best limited to the stove body, glass, and visible firebox, with the full flue left to the annual professional sweep.
Blue Oak Fireplaces is a specialist fireplace showroom based in Syston, Leicester. We supply and install wood burning stoves, log burners, gas fires, and electric fires across Leicester and the surrounding areas. If your stove needs servicing, inspection, or you are considering a new installation, visit our showroom or explore our full range of wood burning stoves to find the right model for your home.