
So you have decided you want a wood burning stove. You have browsed the options, fallen in love with the look, and you are ready to go. But one question keeps coming up. What actually happens on installation day?
It is a completely fair question. A wood-burning stove installation is not like hanging a picture or fitting a new light fitting. It involves flues, liners, hearths, air supplies and building regulations. For most homeowners, it is unknown territory, and not knowing what to expect can feel daunting.
This guide walks you through the entire process from your very first conversation with an installer all the way through to lighting your first fire, So you know exactly what to expect at every stage.
What Is a Wood Burning Stove Installation?

A wood burning stove installation is the full process of fitting a stove safely and legally into your home. It covers everything from assessing your chimney and hearth through to connecting the flue system, sealing everything correctly and registering the installation with your local authority.
Done properly by a qualified installer, a wood burning stove installation is safe, efficient and built to last for decades. Done poorly or as a DIY project by someone without the right qualifications it can be dangerous, illegal and costly to put right.
Step 1: The Home Survey
Everything starts with a survey. Before any work is agreed or priced, a qualified installer will visit your home to assess:
- Your chimney – whether you have an existing chimney, a pre-fabricated flue system or no flue at all
- The proposed installation location – wall construction, available space and room size
- Your hearth – whether an existing hearth is suitable or a new one needs to be built
- Air supply – whether the room has adequate ventilation for combustion
- Access – how the stove and equipment will be brought into the property
This survey is essential. It tells the installer exactly what is involved and allows them to give you an accurate, honest quote with no hidden surprises later.
At Blue Oak Fireplaces we carry out thorough home surveys before every installation because getting the groundwork right is what makes the difference between a stove that performs brilliantly and one that causes problems from day one.
Step 2: Choosing Your Stove
Once the survey is complete and you know what your space can accommodate, it is time to choose your stove. Key decisions include:
Output (kW) Stove output is measured in kilowatts. Choosing the right output for your room size is critical too small and the room will not heat properly, too large and the room overheats and the stove runs inefficiently. A 4-5kW stove suits most average living rooms, while larger open-plan spaces may need 7-10kW or more.
Fuel Type
- Wood burning stoves burn seasoned or kiln-dried wood only
- Multi-fuel stoves burn wood, coal and smokeless fuel
- DEFRA-approved stoves required if you live in a Smoke Control Area
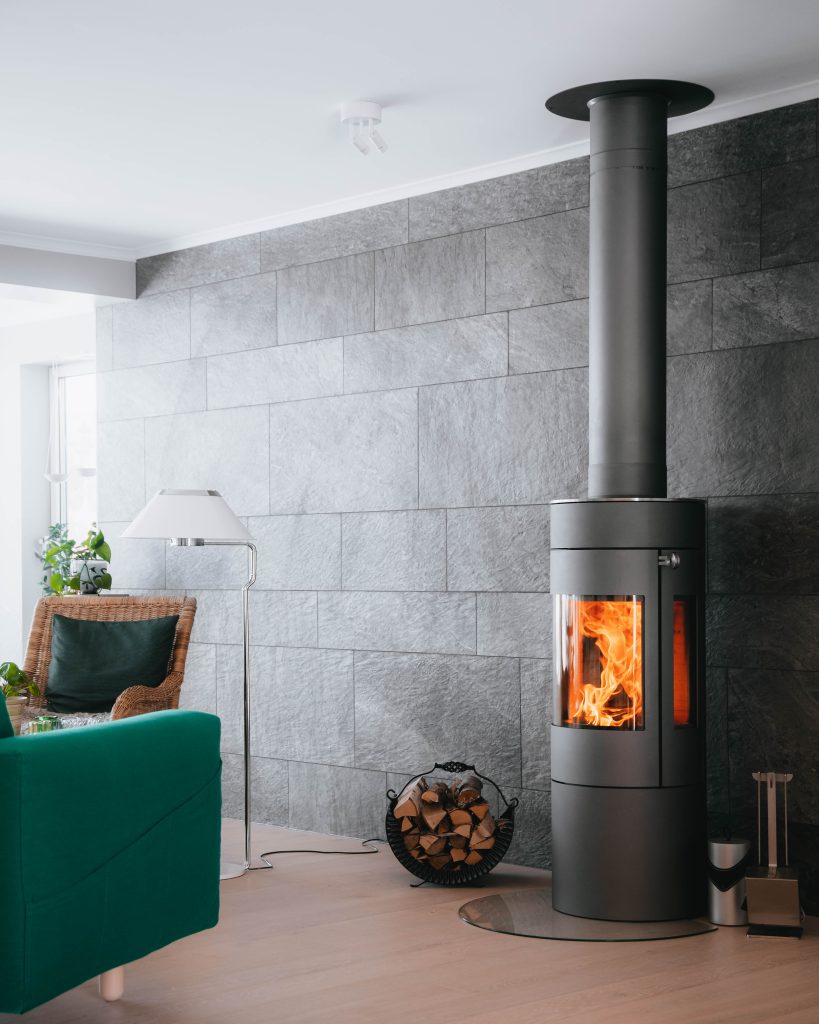
Style Freestanding, inset, traditional, contemporary the style of stove should complement your interior. Visiting a showroom like Blue Oak Fireplaces in Syston allows you to see stoves in real life rather than making a decision from a screen.
Glass and Door Options Most modern stoves feature airwash systems that keep the glass clean. Single door, double door and landscape designs are all available depending on your preference.
Step 3: The Flue and Liner Assessment
The flue is the most critical part of any wood burning stove installation. It is the channel that carries combustion gases safely out of the property. Getting it right is non-negotiable.
If You Have an Existing Chimney
An existing chimney will need to be swept before installation and inspected for condition. In most cases a flexible stainless steel flue liner will be installed inside the existing chimney. This liner:
- Improves draw and combustion efficiency
- Reduces creosote and tar buildup
- Ensures gases are safely channelled out
- Is a legal requirement in most modern installations
The liner is fed down from the top of the chimney and connected to the stove outlet at the bottom. The top is capped with a cowl to prevent rain ingress and downdraught.
If You Do Not Have a Chimney
No chimney is not a problem it simply means a twin wall flue system is used instead. Twin wall insulated flue pipe runs from the stove either:
- Through an external wall and up the outside of the property
- Straight up through the ceiling and roof
Twin wall systems are common in modern homes, extensions and new builds. They are highly effective and can be installed almost anywhere.
Step 4: Hearth Preparation
Every wood burning stove must sit on a non-combustible hearth that meets the requirements set out in Document J of UK Building Regulations.
The requirements are:
- The hearth must extend at least 225mm in front of the stove opening
- At least 150mm either side of the stove
- A minimum thickness of 125mm if laid directly on a timber floor
- The material must be non-combustible typically slate, stone, tiles, brick or concrete
If your existing hearth meets these requirements it may not need replacing. If it does not or if there is no hearth at all, a new one will be installed as part of the job.
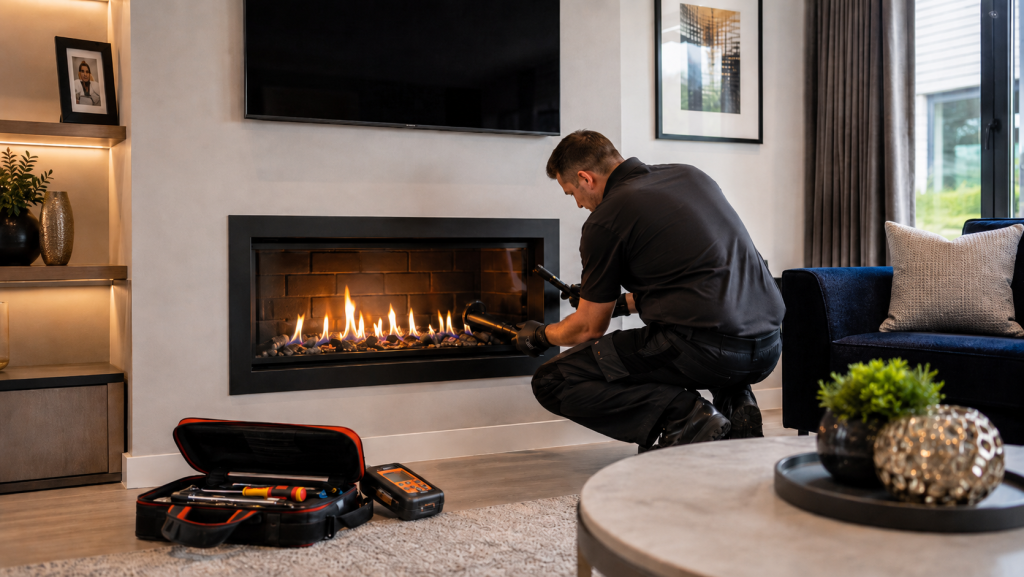
Step 5: Installation Day
With the survey complete, the stove chosen, the flue liner ordered and the hearth confirmed, installation day arrives. Here is a typical sequence of events:
Morning Chimney and Flue Work
The installer will begin with the chimney. If a liner is being installed, this work starts from the roof or the top of the chimney. The liner is fed down, positioned correctly and secured at the top with a terminal plate and cowl. Any gaps around the liner at the top are sealed to prevent rain and debris entering the chimney void.
Mid-Morning Preparing the Fireplace Opening
If there is an existing fireplace opening, the installer will prepare it to accept the stove. This may involve:
- Removing an old back panel or gas fire
- Installing a register plate a steel plate that seals the base of the chimney around the liner, preventing cold air and debris falling into the room
- Creating a neat connection between the liner and the stove outlet
Mid-Day Positioning and Connecting the Stove
The stove is positioned carefully on the hearth and connected to the flue liner via the stove pipe. This connection must be airtight. Any gaps would allow combustion gases to escape into the room rather than travelling up the flue.
Afternoon Air Supply and Final Checks
Modern building regulations require that rooms with wood burning stoves have a permanent air vent if the property was built after 2008 or has been draught-proofed to a high standard. The installer will assess whether an air brick or vent needs to be added to ensure adequate combustion air supply.
Final checks include:
- Smoke draw test ensuring the flue draws correctly
- Visual inspection of all connections and seals
- Carbon monoxide alarm fitting a legal requirement since October 2022 in England
- Clean up a good installer leaves the room as clean as they found it
Step 6: HETAS Registration and Building Regulations
This step is one of the most important and one of the most commonly overlooked by homeowners using unqualified fitters.
In the UK, wood burning stove installations fall under Part J of the Building Regulations. The installation must either:
- Be carried out by a HETAS registered installer who self-certifies the work, OR
- Be notified to and inspected by your local authority building control
A HETAS registered installer handles all the compliance paperwork on your behalf. You will receive a HETAS certificate after installation this is your proof that the work meets building regulations and is an important document if you ever sell your home or make an insurance claim.
Never use an unregistered installer. Not only is it potentially dangerous it is also a legal issue that can affect your home insurance and your ability to sell the property.
At Blue Oak Fireplaces all our installations are carried out by HETAS registered engineers and fully certificated as standard.
Step 7: Lighting Your First Fire
Your stove has been installed, the certificates are in hand and you are ready to go. But the first few fires need to be handled carefully.
Curing the Stove
New stoves are coated with a heat-resistant paint that needs to cure properly. Light small, gentle fires for the first three to five burns gradually increasing the size each time. This prevents the paint from blistering and ensures the seals bed in correctly. You may notice a slight smell during this process, this is completely normal and will disappear after a few fires.
Using the Right Fuel
Always burn seasoned or kiln-dried wood with a moisture content below 20%. Wet or unseasoned wood produces more smoke, more tar, less heat and contributes significantly to chimney and liner deterioration. Look for the Ready to Burn logo when buying logs.
Never burn:
- Treated or painted wood
- MDF or chipboard
- Household waste
- Damp or green wood
Operating the Air Controls
Your stove will have primary and secondary air controls. Your installer will explain how to use these but as a general rule open the air fully when lighting, then reduce as the fire gets going to control the burn rate.
How Long Does a Wood Burning Stove Installation Take?
A standard installation; including liner, register plate and hearth; typically takes one full day for an experienced team. More complex installations involving twin wall flue systems, new hearth construction or difficult access may take a day and a half to two days.
Do You Need Planning Permission?
In most cases no. Fitting a wood burning stove is considered permitted development and does not require planning permission. However there are exceptions:
- Listed buildings – you will need listed building consent
- Conservation areas – check with your local planning authority
- Smoke Control Areas – you must use a DEFRA-approved exempt stove
Your installer should advise you on all of these during the survey stage.
Ready to Get Started – Visit Blue Oak Fireplace Showroom?
A wood burning stove is one of the most rewarding home improvements you can make. Done correctly it adds warmth, character and real value to your home and with the right installer it is a smooth, straightforward process from survey to first fire.
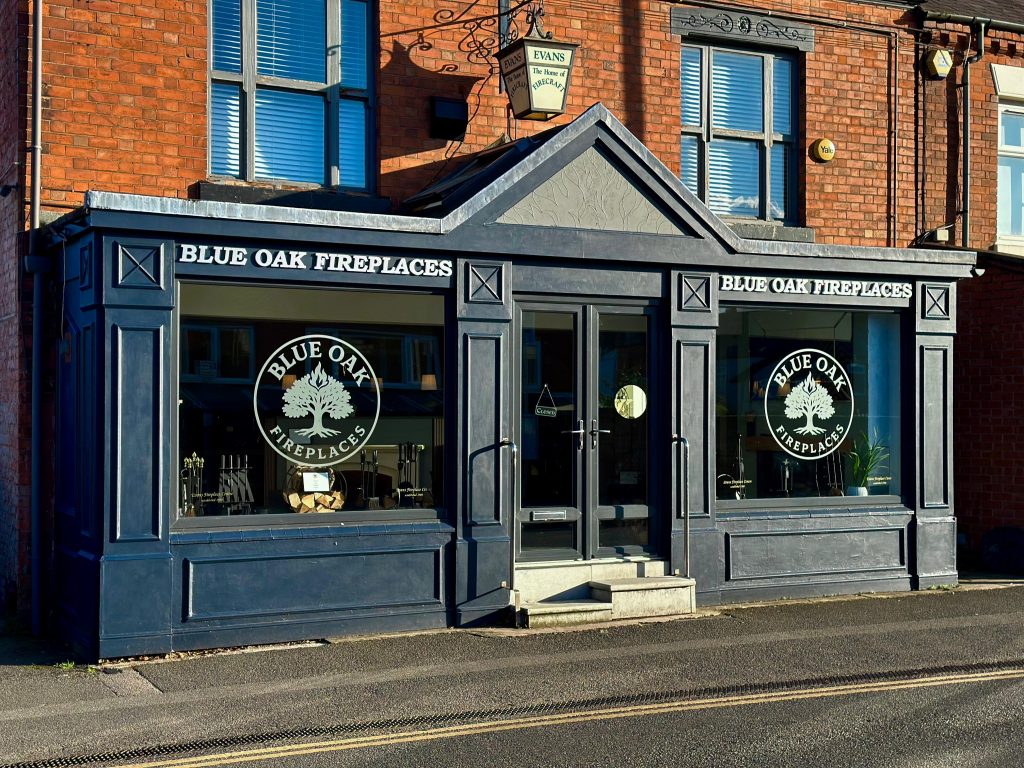
At Blue Oak Fireplaces in Syston, Leicester, our HETAS registered team handles everything from the initial survey through to full installation and certification. Visit our showroom at 1159 Melton Road, Syston, Leicester LE7 2JS to see our full range of wood burning stoves and speak to our experts in person.
Frequently Asked Questions
Can I install a wood burning stove myself?
Technically yes, but you would need to notify your local authority building control and have the installation inspected and approved before use. Using a HETAS registered installer is far simpler, quicker and gives you immediate certification.
Do I need a carbon monoxide alarm?
Yes. Since October 2022 it has been a legal requirement in England to have a carbon monoxide alarm in any room where a new wood burning stove is installed. Your installer must fit one as part of the job.
How often does a wood burning stove need servicing?
Your chimney should be swept at least once a year, twice if you use the stove heavily. The stove itself should be checked annually for rope seal condition, baffle plate integrity and glass condition.
What is the lifespan of a wood burning stove?
A quality stove, correctly installed and well maintained, will last 20 to 30 years or more. The flue liner typically has a lifespan of 15 to 25 years depending on use and fuel quality.
Can I install a wood burning stove in a flat?
It is possible but more complex. You would need freeholder permission and the building would need to be assessed for a suitable flue route. Twin wall external flue systems are sometimes used in this scenario.